
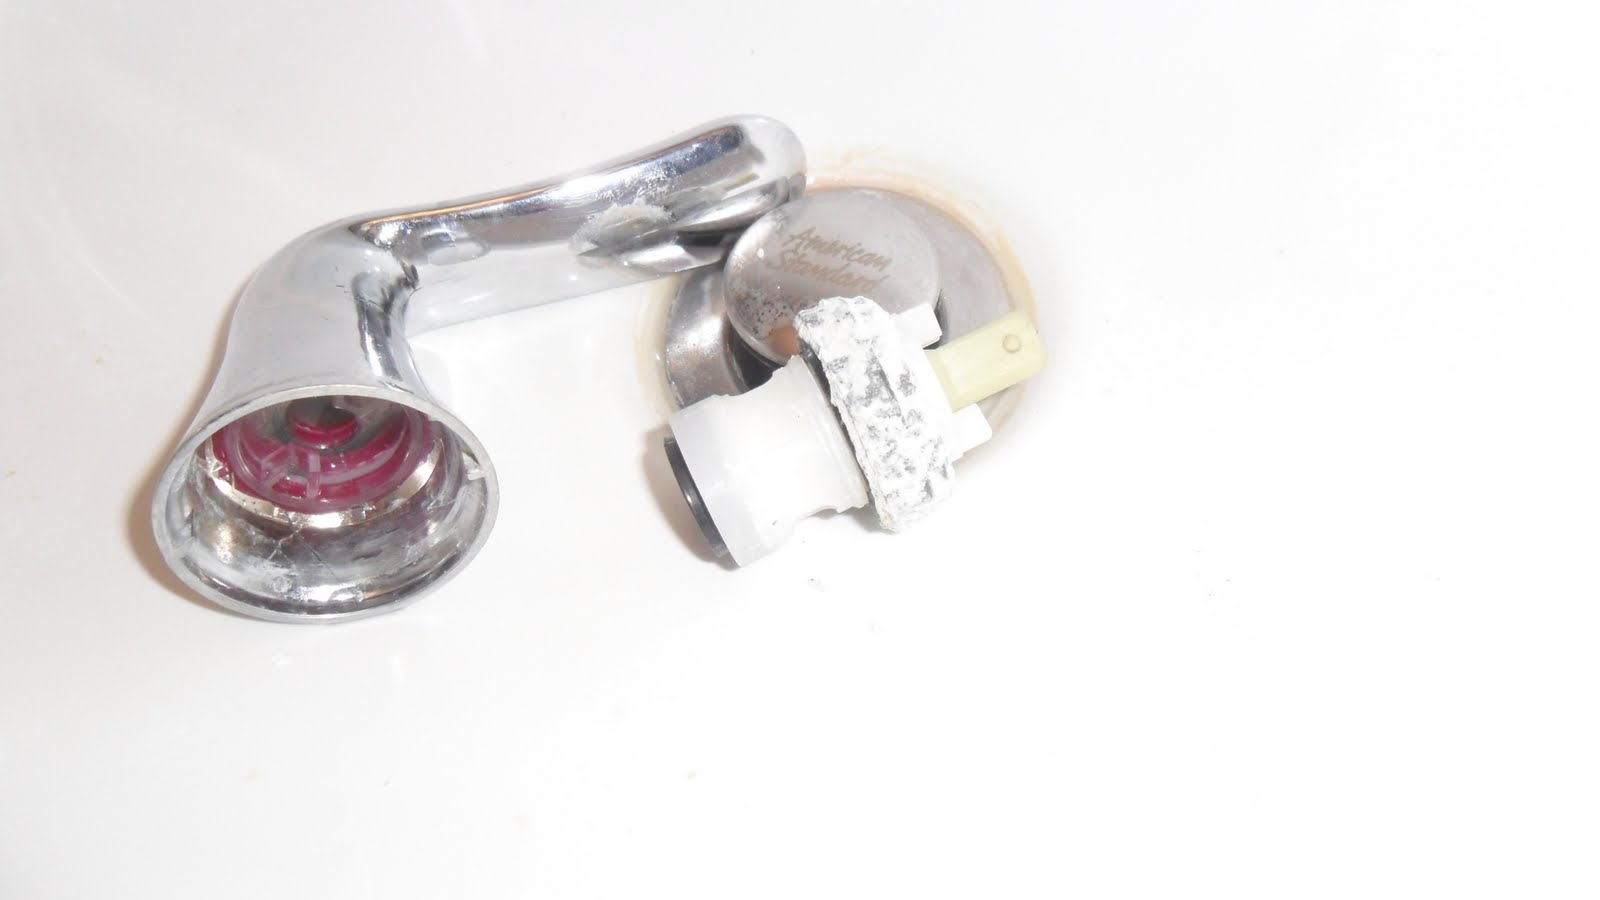
This is what I saw once the water had been shut off...nice right. the handle and the innards had completely popped out- made a mark on the ceiling too!

So here is the mess of towels it took to clean up the water...and this does not account for the towels still under the sink when i eventually take the connectors off. Now I know it doesn't look like alot- but there was full load of towels I did after I fixed this thing- and I have a big load washer!!!

First- you need to know what your sink looks like under the old faucet. You measure from the middle of the handles - center to center. Mine was 4", which I guess is kinda the standard...and 3 holes.

This pic was taken after I had removed the old faucet- but I put it up so you can see the holes. Then you need to go purchase a new faucet...a thrilling task to do with a bored 3 year old! You may also need a basin wrench -see below- (so u can reach those god awful bolts in the back of the sink) and some plumbers tape or putty.
Here is what we picked out: water wise is always nice- especially when you have children!


So I got the big nuts off the stems...but what really proved to be difficult for me were the plastic nuts that secure the faucet to the sink. They were way up inside the under part of the sink and no tool would reach...so I now went to the internet for some great advice.
1- try tightening then loosening.
2- try a hair dryer (I guess metal expands as it heats??? so it makes it easier???)
3- WD 40 or liquid wrench
4- take a hammer to it! ***this worked wonders****

I banged it a few times after letting the WD 40 sit for an hour...and used a wet rag to help get it going! Worked like a charm!


Now all I had to do was clean up the sink from some gunk and install the new one! Easy as a breeze!
and as a side note: thank goodness this happened when we were home- or the house would have been a mess!!! OMG!

So now we have a super awesome new faucet...well, two- I did both bathrooms, because our back bathroom had a broken hot water side! Great day to do some home repair!!! Go me!!!
Sounds like a huge mess to me.....but now I know who to call if this ever happens!!! Glad the house did not get flooded....
ReplyDelete